How to grow vanilla beans from planting to harvest
Vanilla, often considered the crown jewel of flavors in the culinary world, derives its unique aroma and taste from the slender, aromatic beans of the vanilla orchid. While it’s widely used in baking, cooking, and perfumery, growing vanilla beans isn’t as simple as planting a seed and waiting for it to sprout. It requires patience, attention to detail, and specific growing conditions. In this guide, we’ll walk you through the process of cultivating vanilla beans from planting to harvest.
Understanding Vanilla Orchids
Vanilla orchids belong to the genus Vanilla, primarily Vanilla planifolia, which is the most commonly cultivated species for vanilla bean production. These orchids are native to Mexico and require specific conditions to thrive. In the wild, vanilla orchids are epiphytic, meaning they grow on trees, but they can also be grown in soil.
Planting Vanilla Orchids
Choose the Right Location: Vanilla orchids require a warm, humid climate with filtered sunlight. They thrive in tropical or subtropical regions. If you’re growing them indoors, ensure they receive bright, indirect light.
Prepare the Soil: If planting in the ground, ensure the soil is well-draining and rich in organic matter. A mixture of peat moss, perlite, and compost works well. For container planting, use a potting mix designed for orchids.
Planting Process: If planting in soil, dig a hole slightly larger than the orchid’s root ball. Gently place the orchid in the hole and backfill with soil. If growing in a container, ensure there are drainage holes and plant the orchid at the same depth it was in its original container.
Caring for Vanilla Orchids
Watering: Keep the soil consistently moist but not waterlogged. Allow the top inch of soil to dry out between waterings. Mist the leaves regularly to maintain humidity, especially if growing indoors.
Fertilizing: Use a balanced orchid fertilizer during the growing season (spring and summer) and reduce fertilization during the dormant season (fall and winter).
Support and Training: Vanilla orchids are climbers and require support as they grow. Provide a trellis or stake for the vines to cling to. Train the vines to grow upward to maximize air circulation and prevent disease.
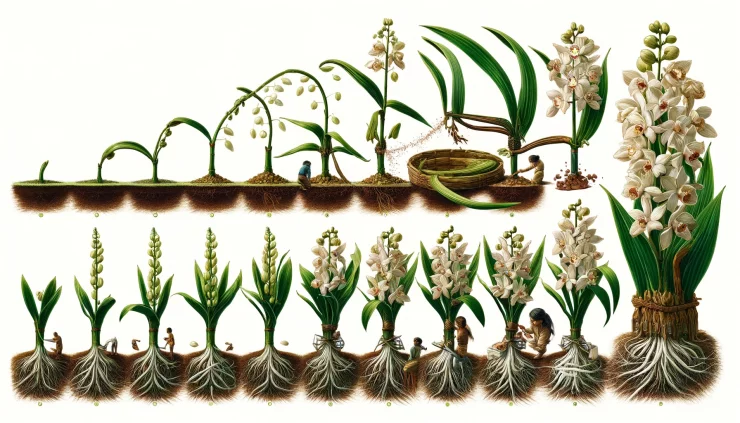
Pollination: Vanilla orchids are typically pollinated by specific bees and hummingbirds in their native habitat. However, in cultivation, pollination is often done manually. This process requires delicate hand-pollination to ensure successful fruit set.
Harvesting Vanilla Beans
Patience is Key: Vanilla orchids typically take several years to mature and produce beans. Once the plant reaches maturity, it may produce flowers, which eventually develop into vanilla beans.
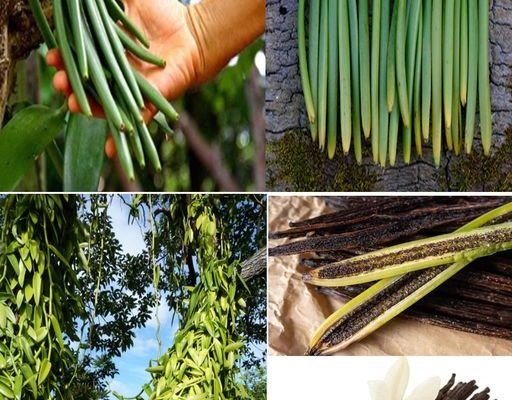
Monitoring Maturity: Vanilla beans are ready for harvest when they reach their full size and begin to turn yellow. The beans should be plump and exude a rich aroma.
Harvesting Process: Carefully handpick the mature beans from the vine using small scissors or pruning shears. Be gentle to avoid damaging the plant.
Curing and Drying: After harvesting, the beans undergo a curing process to develop their characteristic flavor and aroma. This typically involves blanching, sweating, drying, and conditioning the beans over several weeks.
Storing Vanilla Beans: Once cured, store the vanilla beans in airtight containers away from light and heat. Properly stored vanilla beans can last for several years.
Growing vanilla beans can be a rewarding endeavor for both hobbyists and commercial growers alike. By providing the right growing conditions and care, you can enjoy the satisfaction of harvesting your own flavorful vanilla beans to elevate your culinary creations. With patience and dedication, you’ll soon be indulging in the exquisite taste of homegrown vanilla.


